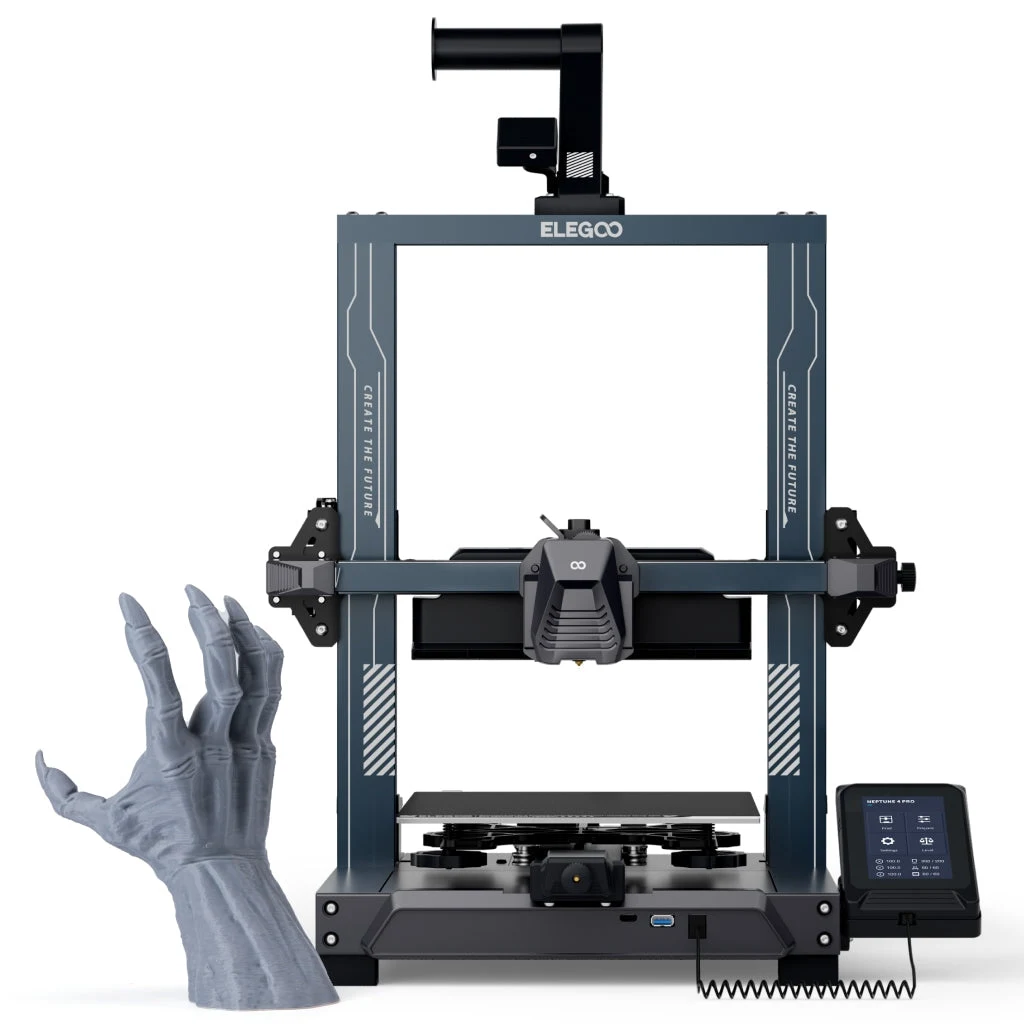
The Neptune 4 Pro offers a documented 225 x 225 x 265 mm build volume. Plan the moving-machine clearance and material conditions, not just the printable dimensions.
Manufacturer information informs the product details; the buying analysis is our own. This is not a hands-on test.Choose an object that teaches one thing
A small organizer, simple bracket or decorative piece can be a clearer first project than a large object with intricate supports. Define what you want to learn: preparing a file, obtaining a reliable first layer or assessing fit. Changing every variable at once makes it difficult to understand why a print succeeds or fails.
FDM builds an object by depositing material in layers. That process differs from resin printing and laser cutting. Decide which output suits the project before comparing machines. A product photo of a detailed model does not guarantee the same finish for every material, settings combination or beginner workflow.
The Neptune 4 Pro’s stated build volume is 225 by 225 by 265 millimetres. Compare your intended object with that usable volume, including any support or arrangement needs. Do not confuse the bed’s physical dimensions with the advertised printable envelope. A larger sheet of build surface is not automatically a larger supported print.
The machine needs room to move
A moving-bed printer requires clearance around its active motion, not just room for its feet. Consider the spool, cable movement and access for removing prints. A narrow shelf can fit the static body while obstructing a working route. Use the manufacturer activity-space specification and instructions when planning the location.
Choose a stable surface and an appropriate environment. Hot parts and moving components need separation from children, pets and casual interference. Material processing also requires suitable conditions and ventilation. Do not assume a bedroom desk is appropriate simply because the printer is sold for home use. Follow the guidance for the machine and chosen material.
Think about maintenance access. You may need to inspect components, clean the surface according to instructions and reach connections. A location that requires repeatedly lifting the printer into another room can complicate learning. A clear workspace makes initial setup easier and gives you room to work without leaning into moving hardware.
Maximum speed is not the speed of every project
A published maximum tool-head speed is a capability under conditions, not a promise that each model finishes at that pace with your preferred quality. Geometry, acceleration, cooling, material and settings contribute to time and finish. We have not benchmarked this printer. Use supported profiles as a starting point rather than choosing the maximum because it appears in a headline.
The first layer deserves attention before speed experiments. Follow the model’s setup and levelling process; automatic features do not eliminate correct preparation. Keep changes modest and record what you alter. That creates a learning process instead of a sequence of failed prints where several unrelated settings changed together.
Material support is not a guarantee that every listed filament performs identically in an open setup. Some materials need different environmental control and safety precautions. Consult the manufacturer and filament guidance. Begin with a suitable supported material for the actual workspace rather than selecting a difficult stock just because the nozzle temperature rating appears high enough.
Check the version and the complete learning budget
The current official offer distinguishes versions, including Type-C and ribbon-cable arrangements. Preserve that distinction when buying parts or following setup advice. A compatible-looking component for a similar printer may not match the selected version. Record the exact model and revision so future accessory purchases remain grounded in the unit you own.
Budget for appropriate filament, consumables and time to learn the software workflow. A design file is not yet a prepared printing job. You need the supported process to turn it into instructions for the printer. Do not assume every downloaded object is licensed for commercial use or that a decorative print is suitable for a safety-critical function.
Choose Neptune 4 Pro’s direction when its documented volume and setup fit the project and room you have. Keep the first task achievable, the material suitable and the revision clear. A successful learning routine is more valuable than buying the fastest-looking specification and discovering that the machine has nowhere sensible to operate.